
Fraternity cooler painting guide
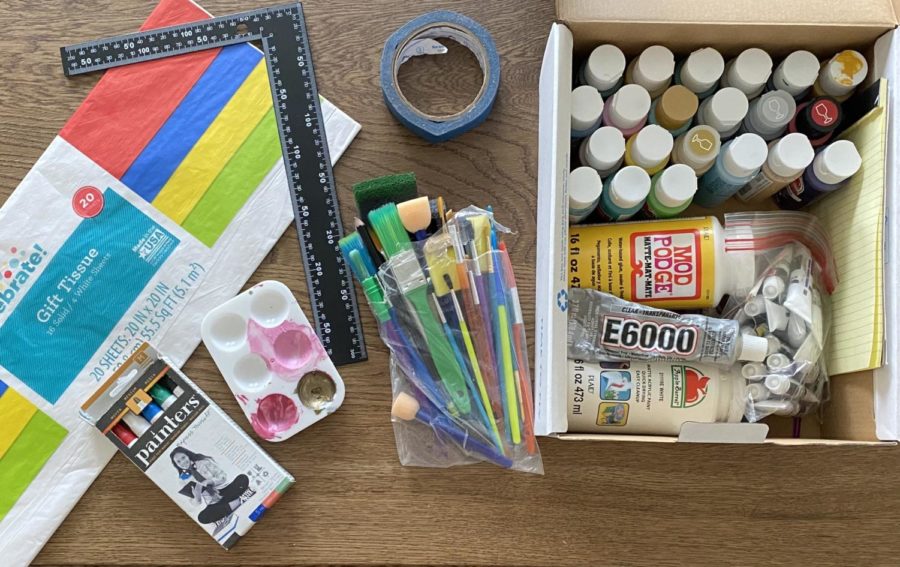
Supplies for cooler painting (Lucy Puente/ TCU360)
Published Apr 25, 2023
Spring formals are approaching and TCU students are frantically painting coolers for their formal dates. Traditionally in greek life, when a fraternity member invites a woman to a formal, she creates a cooler in return as a form of a ‘thank you’. The daunting task may take weeks, but here are some tips to help you paint the best ‘Frat Cooler’. 
Materials:
- Sandpaper
- Spackle
- Painters tape
- White spray paint primer
- Scotch tape
- White Tissue paper
- Pencils
- Fine Point Sharpie
- Acrylic Paint
- Paint Brushes
- Paint Pens
- Mod Podge
Steps to Painting:
Sand, Spackle, Tape, Prime The first step after purchasing your cooler is to sand it to a smooth finish to later paint on. After the sanding, grab some spackle and fill in the logo of your cooler so it is flat with no divots. Once the spackle dries sand the spackled logo. Next, tape the top of your cooler, handles and the drain. The last step is to prime your cooler by spraying the white paint primer all over it. Pro tip: If you’re in a rush buy a white cooler and just sand it. Pick designs, Print, Trace While you are waiting for your cooler to dry pick the art work you want to draw on the cooler. Feel free to free hand the art too if are inclined to do so. For the not so artistically inclined, printing these will be the best option. Make sure the designs are the correct sizing for the cooler. Pro tip: You can check the sizing by referring to the ruler feature in Microsoft Word. Tape & Trace Once the pictures are printed it’s time to trace. Lay a piece of white tissue paper onto the printed design and trace with a pencil. After, tape the tissue paper stencil onto the cooler. Trace over the design with a fine point sharpie directly onto the cooler’s surface.